Creating a More Info block
There are two ways to add a More Info block to a listing:
- Using the data editor
- Pulling content from another post/page on your site
Using the data editor
1. Click on the Edit button below the dataset:
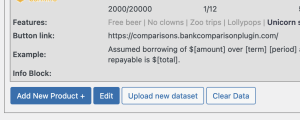
2. Enter the required information in the More Info field:

3. Save the changes.
Pulling content from another post/page on your site
1. Create the content pages.
If you want to pull content from another page you will need those pages. Do not use a page builder as they add all sorts of code that only works if you are viewing the actual page. Just use the standard WordPress blocks and you should be OK.
This is the sample page I use.
2. Publish the page.
3. Note the post ID in the URL:

4. Now go to the plugin settings and click on the Edit button below your dataset:
5. Go to the Info block ID field:
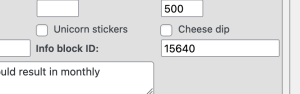
6. Enter the post ID you noted earlier
7. Save the changes.
Activating the Feature
1. Go to the Settings tab in the plugin settings
2. Scroll down the Ribbons, Buttons, Examples and Product Information section
3. Check the box on the More Info dropdown option and change the label if required:

4. Save the changes.
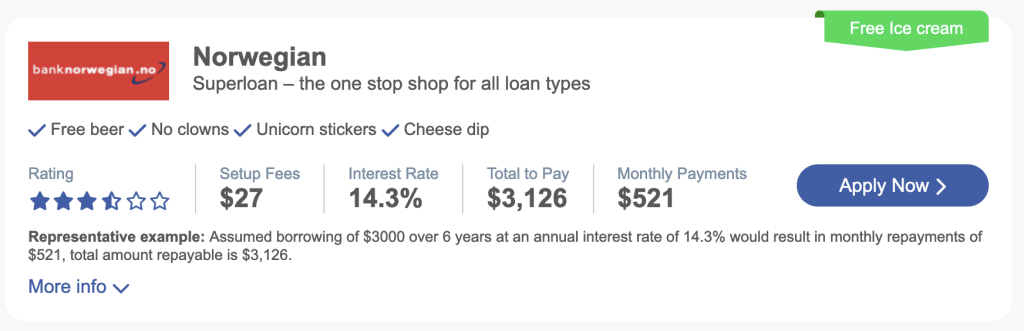
If everything is in place you should now see the More info button on the comparisons table: